Very nice!
2012-10-29 18:05:15
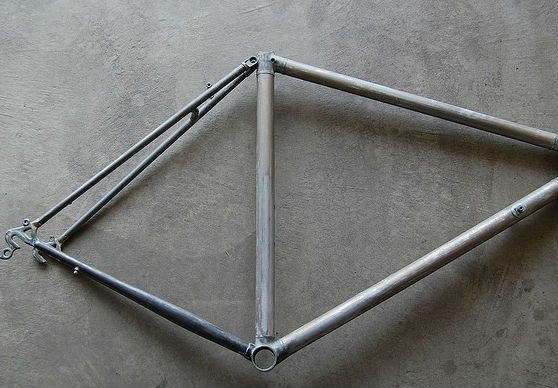
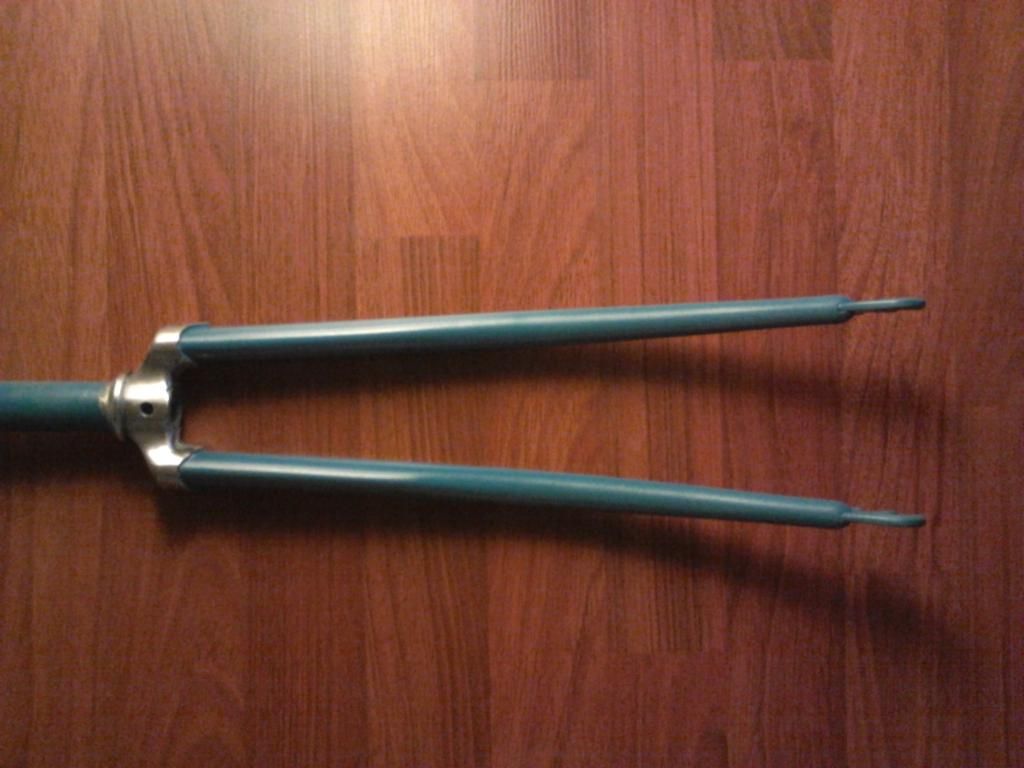
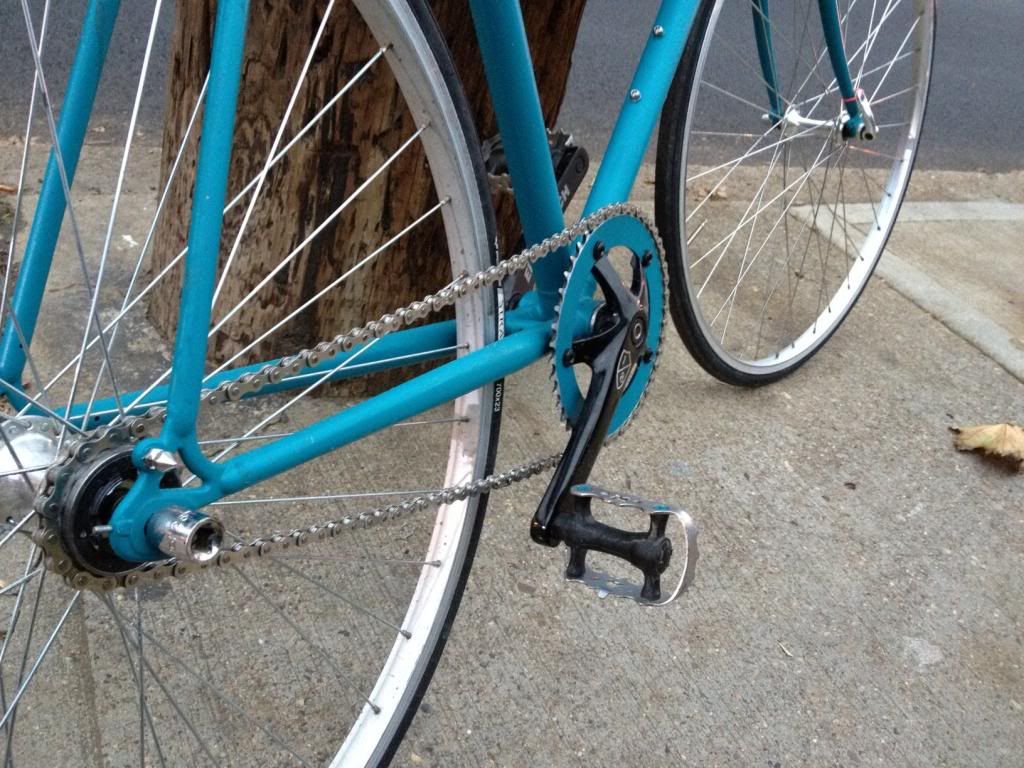
After 48 hours this is what I got cooking.
Frame stripping and full shaving of everything derailleur related.
Paint inspiration/painting.
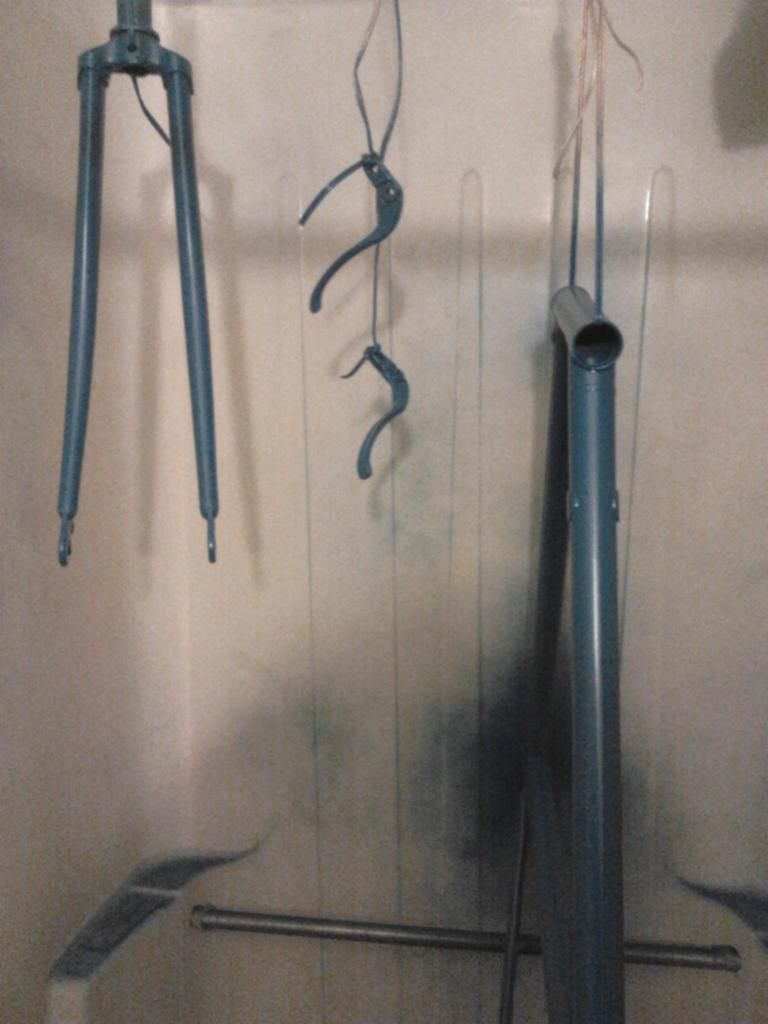
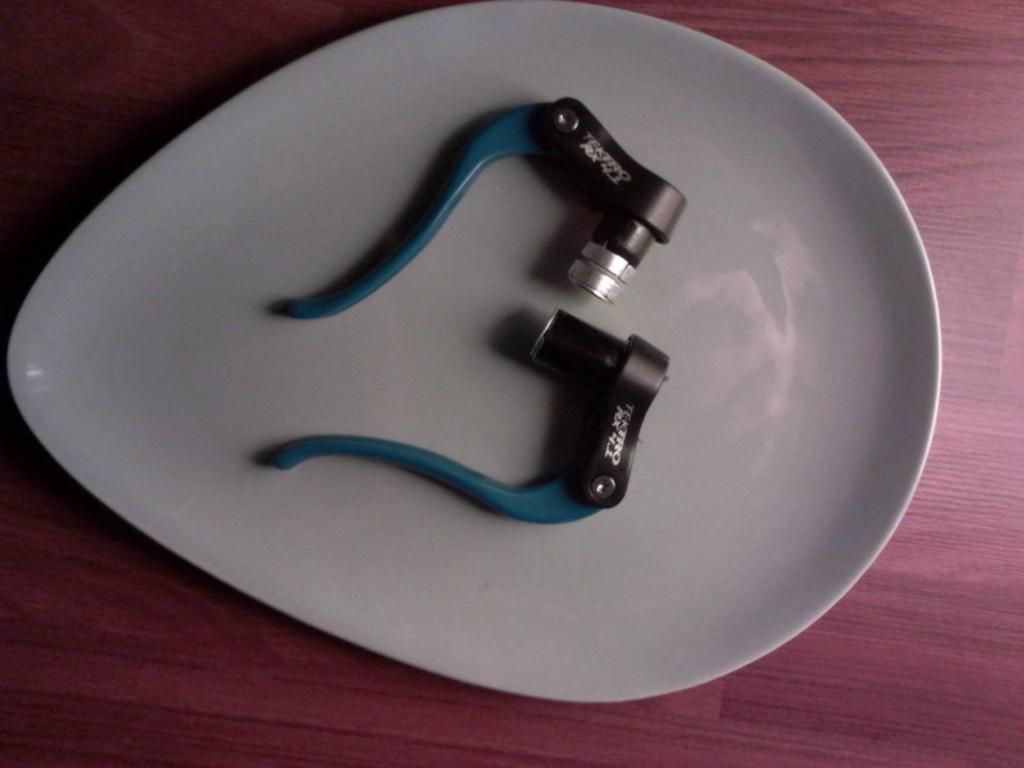
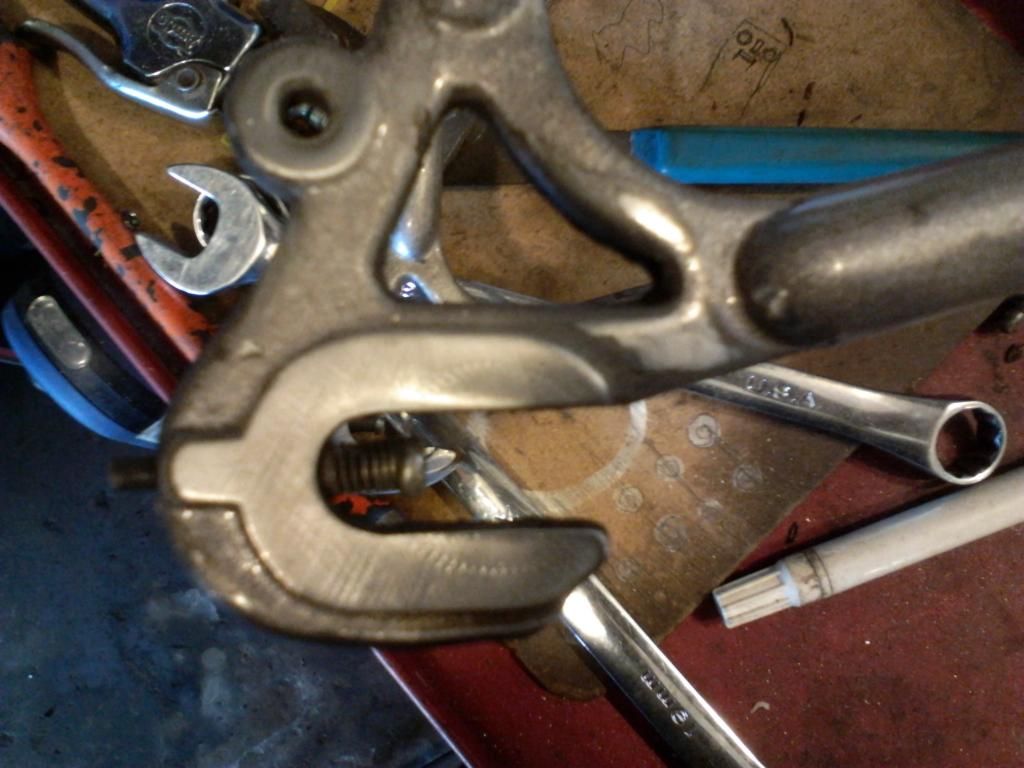
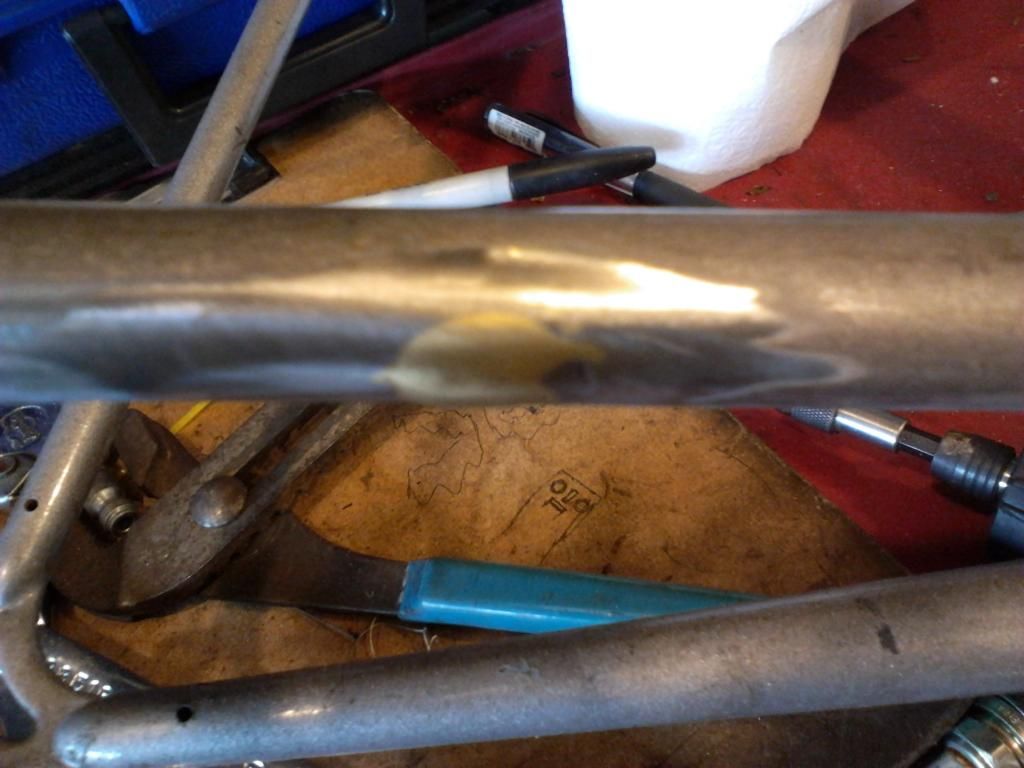
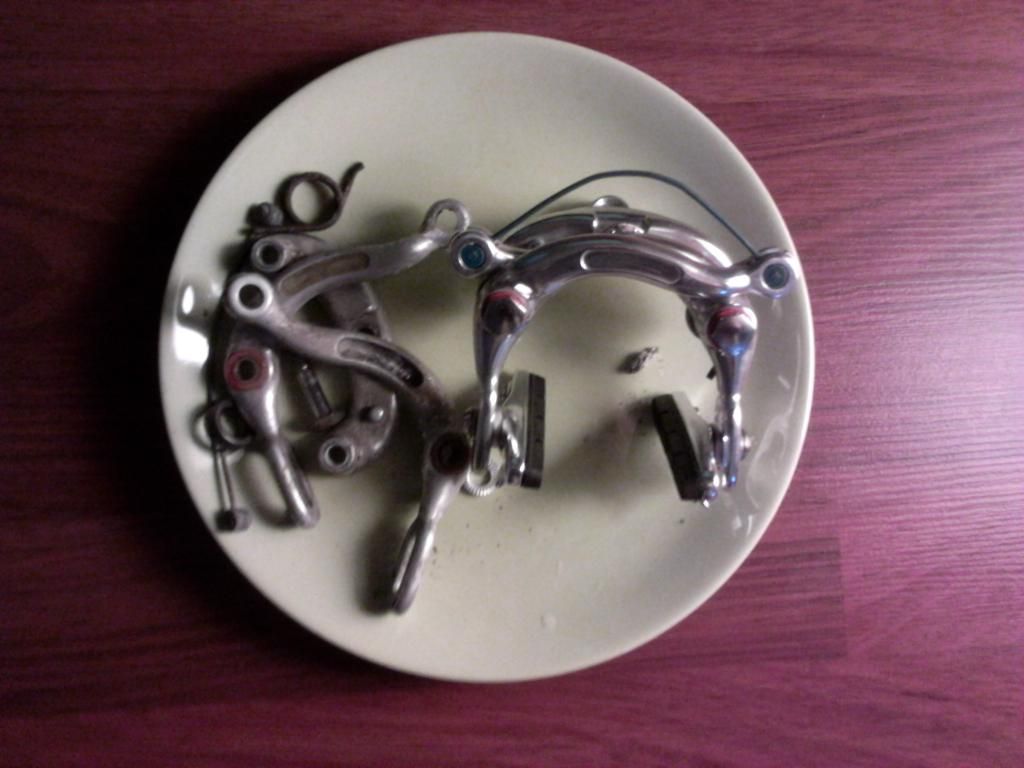
Polishing and polishing.
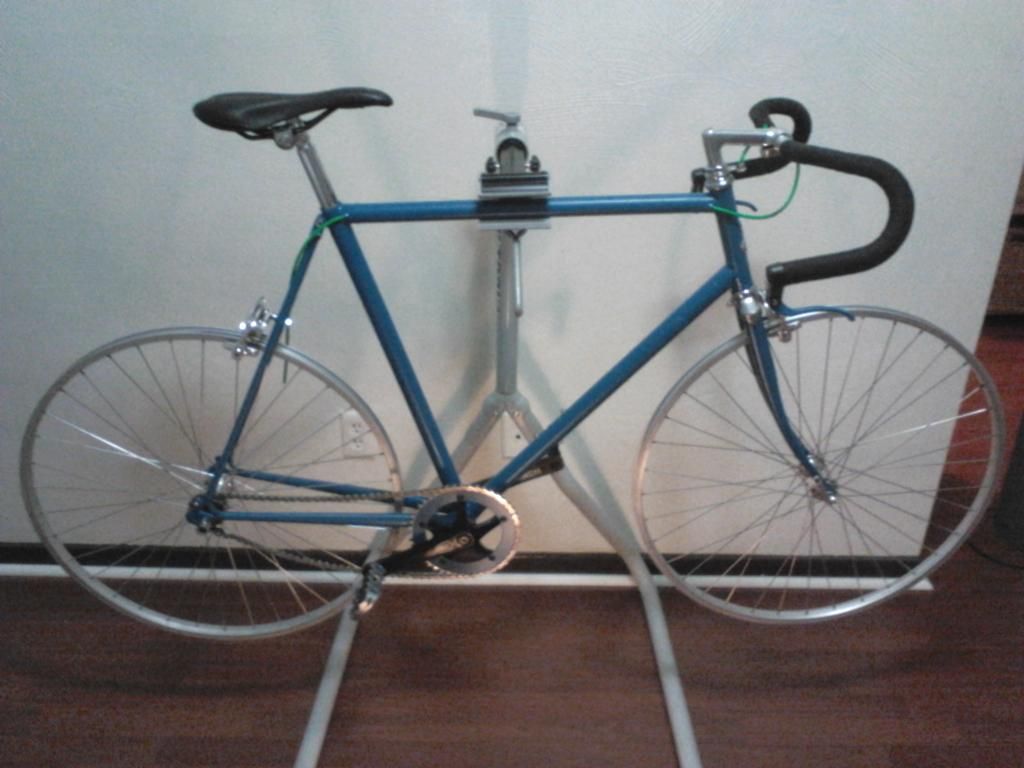
Almost done.
Very nice!
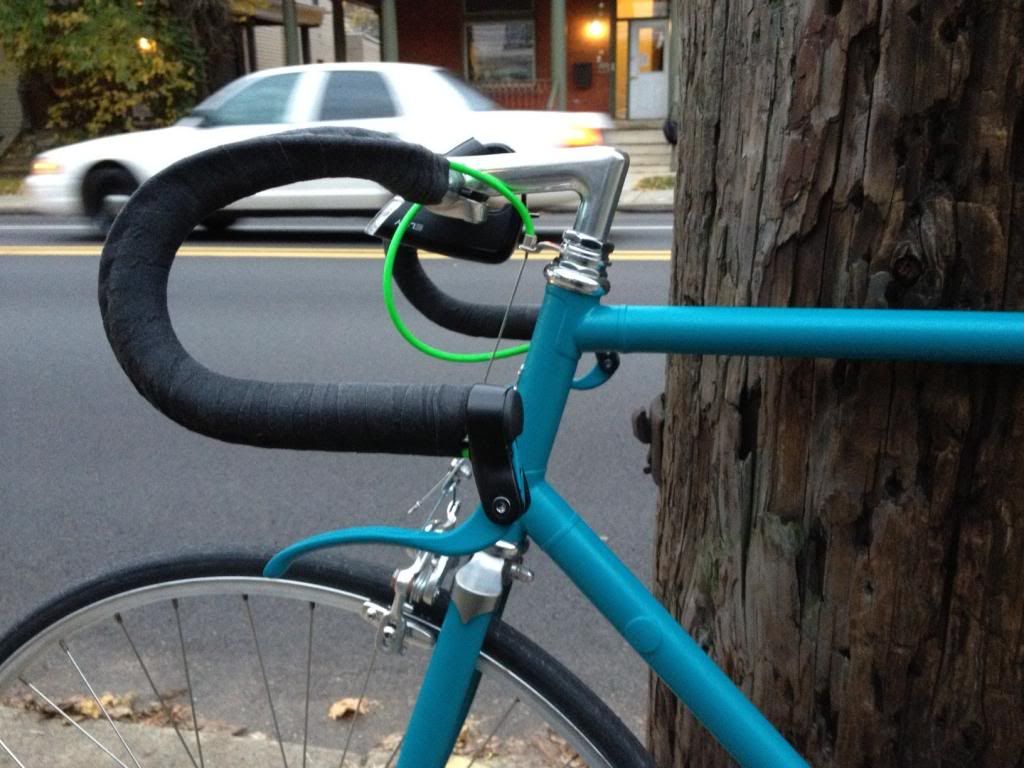
Looks cool but is that green housing?
Lovely!
Did you mask the lugs before spraying, or strip them after?
I like the steel + grey-blue.
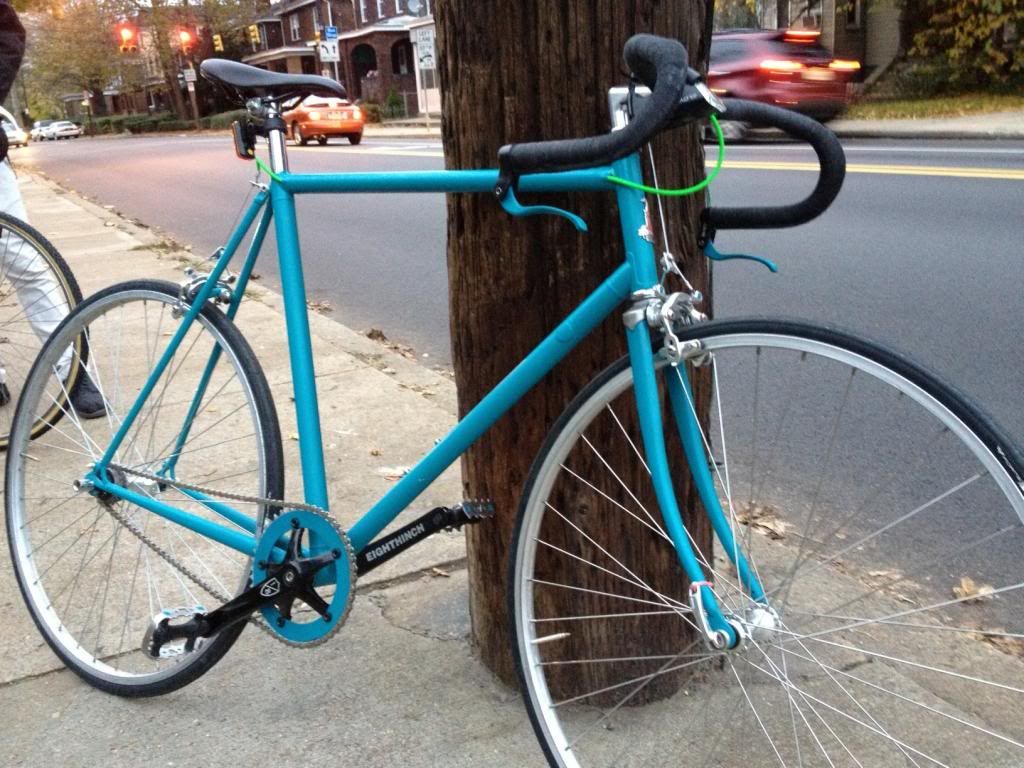
I stripped them after painting since they were non chrome plated. Almost any metal will shine well by stepping 800 to 2000 grit sandpaper followed 0000 steel wool and metal/aluminum polish.
A dremel is really helpful for polishing but not required with a healthy mix of determination and insanity.
In addition to just keeping occupied until things clear up, finding a use for the random parts I accumulated was a another goal. That is how the neon green brake cable made the cut. There is 30' or so left if you want some :p
What kind of paint did you use? I used Rustoleum in the past and it looked great, but wasn't as tough as I would have liked.
Yea what did you use? I stripped, primered, painted (at least 2-3 coats), and clear coated and it still chips so easily.
@Lou same story, but with more coats of paint. Very frustrating.
For this one I used a water based automotive paint and lacquer clear coat which requires a little investment but spray paint can be just as effective.
My best advice is to paint in a place where you can keep things very warm using a space heater. I shoot for 85-90 degrees ambient throughout the whole process and a the metal should be warm to the touch.
I also like to get the paint warm before spraying too, it is much smoother when applying and hardens faster. Submerging the cans in a pot of near boiling water is the most effective way to accomplish this.
*Just remember to shut off the heater while spraying and venting the fumes out for obvious reasons*
Always vent the fumes out and never blow air into the work space to keep the ambient temp in range.
Lightly dust on primer just enough to cover any scuffs caused by stripping the frame. I honestly don't even sand the primer unless there is a flaw.
After about a hour I do two coats of the color and allow that to harden overnight maintaining the high ambient temp.
The next day hit the frame with 1000 grit paper just to take the shine off and add another two coats allowing this to harden for about four hours.
I like using a lacquer clear coat and this should be applied very lightly allowing about a hour dry time in between four to seven coats.
For a matte finish don't sand in between coats and four hours later it is done.
For gloss: sand all but the final coat with 1000 grit sandpaper and WET sand the final coat using 2000 grit.
Follow that by polishing with a automotive buffing compound and a good wax like mothers.
I would not put a can of spray paint in boiling water, especially if full. That sounds like inviting a disaster. Perhaps carefully warming it to bath water temp. (Sorry, I don't do much painting, but that just sounds dangerous.)
It doesn't sound like he's talking about spray paint but automotive paint which isn't pressurized. It comes in a can much like house paint.
Beautiful project!
My understanding is that the mixture used in spray cans has to have a higher amount of solvents to work, and that makes the paint more brittle than air driven spraying. I've done several frames and had the same result. Last one I did I just had powder coated at Thick. Done.
What spray cans did you use, edmonds?
You can get high quality polyurethane PPG or Dupont paints mixed into can at your local paint shop, and if you're good with the can, it's pretty much identical to mixing it yourself. Definitely more expensive that way though.
This is awesome!
One question; what did you use to strip the old paint?
Can we make this thread a sticky?
How much did Thick charge you for powdercoating? I didn't realize they did that; that's good to know
cans; I just just used off the shelf stuff for a couple, Rustoleum or Krylon or something, was def not specially mixed. That's a good-to-know option.
Though I did my daughters bike with cans last winter and it seems to have held up better.
Powdercoating; Was $200 for full strip-down and re-tapping of BB threads & etc. after. Could find it cheaper elsewhere but I was confident that Thick would be sure everything was ready for re-assembly w/o issues. And it was.
When talking about the "near" boiling water I am talking about rattle can spray paint.
Of course you do not want the contents of the can to exceed 120 degrees but keep in mind that there is a certain amount of heat lost when transferring through the steel can and into the paint itself.
Bath temperature water will be cold before having any significant increase in the paint temperature inside the can.
It is a feel it/intuition kind of thing and with a little research you will find that it is common practice among many DIY painters.
If not comfortable with it, you could always skip that step but I have found myself in a place like the others here who have had bad chipping/flaking results by painting at lower temperatures.
Practice and learn from mistakes.
I would also Like to add that I posted this to the DIY section, of course you can pay to have anything done but my intention is to swap/share/ encourage ideas for those who want to try DIY in this thread.
Often a $50.00 used frame find does not warrant a $200.00 powder coating.
Yeah, sorry, I had no intention of derailing this into discussion of non-DIY stuff ") but I am glad to know that someone local and knowledgeable offers powdercoating, in the case that I ever find myself with a nice enough frame to warrant it and without the time and resources to DIM
but I am glad to know that someone local and knowledgeable offers powdercoating, in the case that I ever find myself with a nice enough frame to warrant it and without the time and resources to DIM
On the DIY side, assuming I possess zero painting-related supplies at this time, how much would I end up spending if I bought the paint and other stuff necessary to paint a frame? I could see doing this to the old Nishiki in my basement that I've been meaning to build up, although I'd probably want to practice first (and conveniently happen to have a sad old practically-unrideable frame that I inherited that might be the perfect thing to practice on)
Without the aid of pneumatic tools or a bead blaster, 600 grit sandpaper, steel wool, scotch bright pads work well for stripping
A small wire brush is pretty handy for cleaning out welds and other tight spaces if a dremel does not fit the budget.
@pearmask
1 can of primer $4.00
2 cans of color $8.00
2 cans of clear $8.00
1 pack of 600 grit sand paper $4.00
1 pack of 1000 grit sand paper $4.00
1 pack of 2000 grit sand paper $ 4.00
1 wire brush $1.00
1 mixed weight pack of steel wool $4.00
1 buffing compound 6.00
1 wax 6.00
$49.00
@VeloEvangelist: Have you seen any value in using one of the metal prep products before priming, and/or an etching primer?
@VeloEvangelist: thanks for sharing your methods in such detail!
@reddan. Anything extra like cleaning the frame with solvents or higher quality primers and paints never hurt.
But I have found the best results come from keeping things really warm, allowing a full day of hardening time after color coats two and extra attention to the clear coat process no matter what supplies.
I use to just hang frames from a tree and paint in that type of environment causing the same quality issues a few others here have had with chipping and flaking.
Since following others advice both professional and shade tree I have had significantly better results which I pass along here.
This is a really good thread. I can confirm, from working at an auto body shop in high school and college, and probably spraying well over 1,000 gallons of various auto and industrial finishes, that VE knows exactly what he's doing. I would add this to his sage advice:
1) A product called "Aircraft Remover," available at auto parts and auto paint stores, works great for removing paint, powder coat, etc. It's nasty stuff, but it works.
2) Before doing anything with a frame, use a degreaser to get all the oil, grease, wax, etc. off of the frame. If you grind oil, wax or silicone-based contaminants into the nooks and crannies before painting you will get "fish eyes" in the paint and it's a bear to correct.
3) My understanding is that the metal etching products are very useful, particularly if you are not using a primer that has good adhesion to bare metal. I have used them on aluminum with good results, but not on steel. I did, however, just have a frame powder coated, and they pre-treated it with iron phosphate. The durability is excellent.
@VE, thanks for all of the tips. But how long do you leave the cans in the water bath? And is auto paint "harder" than rustolium etc. or is it your technique? I did a bike over the winter last rear that looked great, but the paint was soft as hell. (I used a chemical stipper which saved a ton of time taking it down to metal & it didnt seem to affect welds at all)
Add a wire wheel for your drill to the shopping list. It's a massive time saver when not using a chemical stripper.
I used an etching primer with a wax & grease remover and the primer is the only thing that won't chip off the frame.
@marko. When heating the cans just leave them in the water for a few minutes followed by shaking the can and returning it to the water for a few more.
Any increase above normal room temperature is good. But being that you can't really get a accurate reading, using your best judgement is well enough.
Consider a few degrees warmer than room temp ideal while always being cautious of too much being too much.
With that said,
My biggest concern with chemical strippers is assuring that all of it is cleaned off before spraying, factoring in how much absorbs into the metal itself.
I mean that in theory, I like the idea of starting from bare metal. But if you can reach the original primer on the frame by sanding that should be enough to lay down a color coat with simple primer touch ups.
By letting the second coat of color dry completely before moving on. By doing this most of the chipping will still retain the color rather than hitting unsightly bare metal which in my opinion is good enough for a paint job under 100 bucks.
If anyone is curious and wants to know how to make a really nice easy to store paint booth I found this.
http://www.wikihow.com/Create-a-Paint-Booth-in-Your-Garage
Any space you can keep warm, ventilated and clean up easy works just as well.
Ah yes, an ice maker would be an excellent purchase for November. New November drink - Cold Toddy.
It produces from 1 to 50 tons of ice a day! The drink possibilities are endless...
Finished and sold!
Beautiful.
If you can't find your 15mm socket, I think you sold that too.
Ha!
Whoa. Cool.
Nice job! Especially like the socket-nuts. Why neon GREEN cable hosing though!!